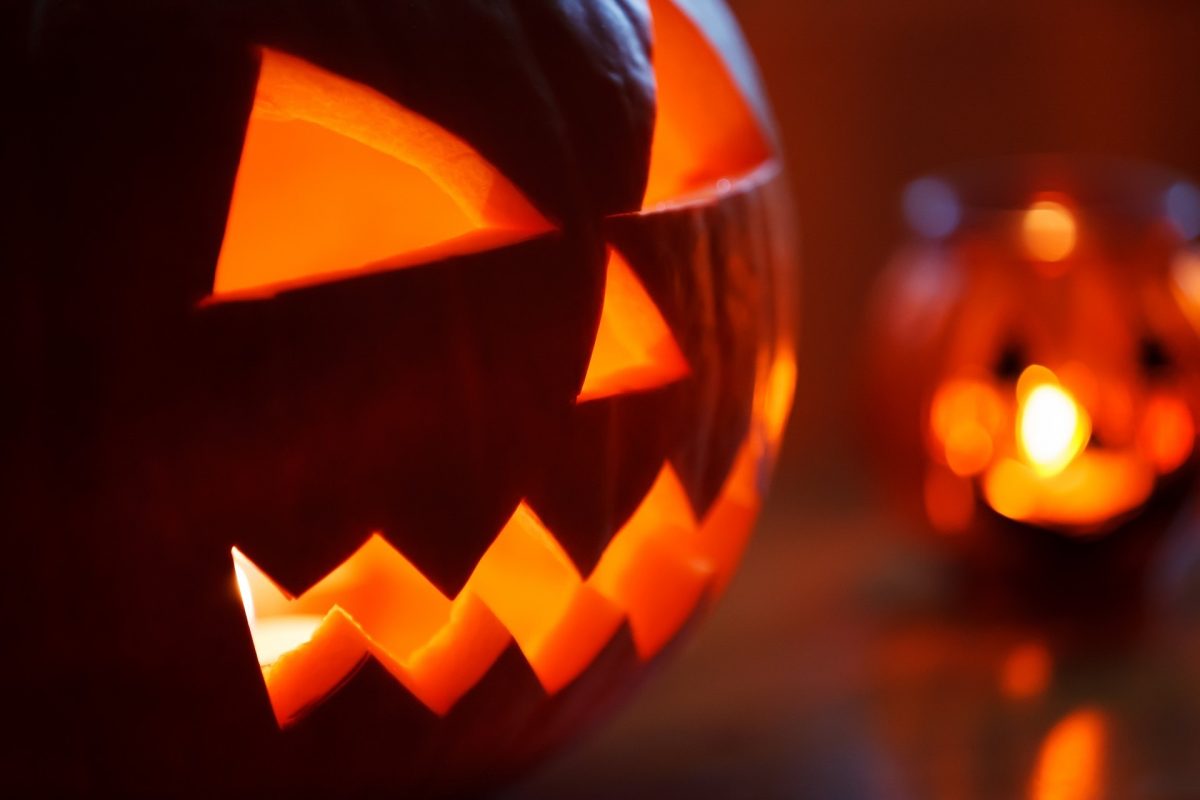
With Halloween just around the corner, it is time to carve some pumpkins! But, some people may not know how to carve a pumpkin or need a refresher on the Jack O’Lantern creation.
The early Jack O’Lanterns first appeared in Ireland and Scotland during the early 1700s. However, these Jack O’Lanterns weren’t the traditional faces on pumpkins, rather they were carved into large turnips instead. Jack O’Lanterns were originally made out of turnips because of the legend of Stingy Jack.
The tradition of carving scary faces on vegetables eventually came to America when the Irish immigrated to New York and other parts of the United States. They are also called Jack O’Lanterns because of the Irish folktale ‘Stingy Jack’. The History Channel conveys the following:
Stingy Jack invited the Devil to have a drink with him. Stingy Jack did not want to pay for his drink, so he told the Devil to turn himself into a coin that Jack could use to buy their drinks. Once the Devil turned into the coin, Jack kept the money and put it in his pocket next to a silver cross, preventing the Devil from returning to his original form.
Eventually, Jack freed the Devil, under the circumstance that he would not come back to Jack for one year, and if Jack died, the Devil would not claim his soul. The next year, Jack tricked the Devil into climbing into a tree to pick a piece of fruit. While the Devil was in the tree, Jack carved a cross into the tree, so the Devil could not come down until the Devil promised not to bother Jack for ten more years.
Jack died soon after. God wouldn’t let Jack into heaven and the Devil, keeping his word, wouldn’t allow Jack into hell. He sent Jack off into the night with a burning coal to use as a light. Jack put the light into a carved turnip and has been wandering the Earth with it ever since.
Jack’s spirit was forced to walk the earth for all eternity. All Jack has is his burning coal to light his way. The Irish, who created the folklore, made their own copy of Jack’s turnip lantern. The tradition continued for many years because of how popular the fable was. Jack’s name was combined with his lantern to create the household name, the Jack O’Lantern.
With the history of Stingy Jack and the carving of pumpkins out of the way, it is time to learn the step-by-step process of pumpkin carving.
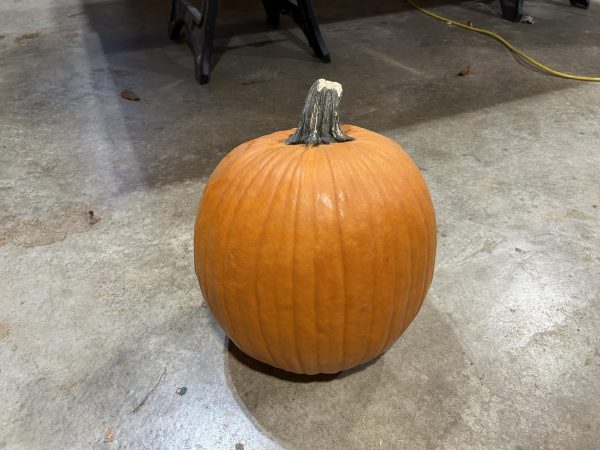
Step 1: Go to a pumpkin patch or supermarket and pick out a pumpkin. The best pumpkins for carving are ones that have a flat bottom and at least one mostly flat side that you can carve your design into. The pumpkin also has to be big enough to carve, but not too big that it is too much to handle. If the pumpkin is too small, you won’t be able to carve your design in. Once you bring your pumpkin back home, it is time for step 2.
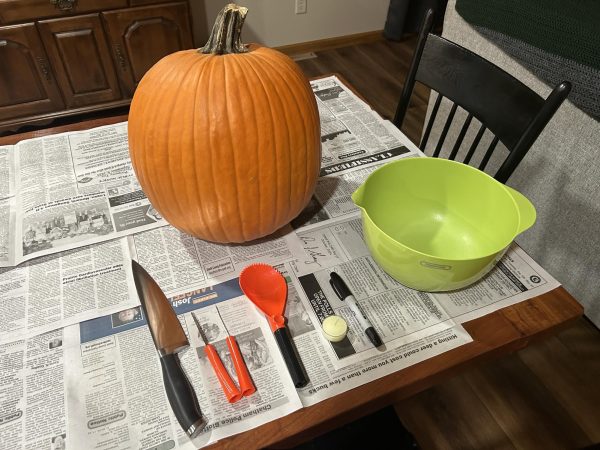
Step 2: Prepare your carving space and gather your tools. You don’t want to have a big mess to clean up when you’re done carving, so it is best to lay down a couple of old newspapers or towels in the area where you are carving your pumpkin. Some tools you will need: a big knife, smaller pumpkin carving tools or a smaller knife, a scoop (or you can use your hands), a permanent marker, a candle, and a bucket or bowl. After the materials have been gathered, it’s almost time to start carving!
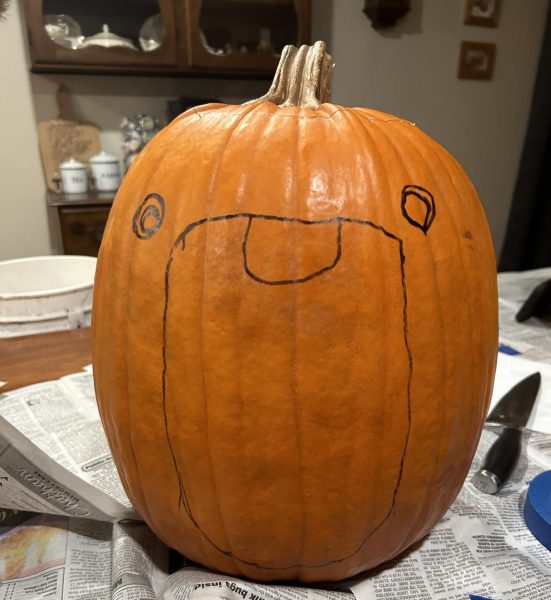
Step 3: Pick a design. You can search the internet for inspiration for a face or design you want to carve. After you have a design, you can either print it out and tape it to your pumpkin to trace it or use your permanent marker to free-hand draw your design.
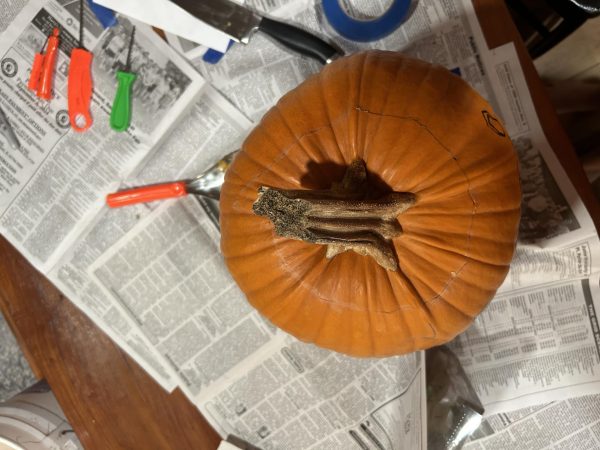
Step 4: Cut open the top of the pumpkin. Use your bigger knife to cut a circle around the stem, but make a little notch that juts out on one part of the circle so you can put the top back on later. Once you cut around the stem, you can pull the top off. Some seeds might be on the top, so you can just cut all that off. After this step, the big knife can be put away.
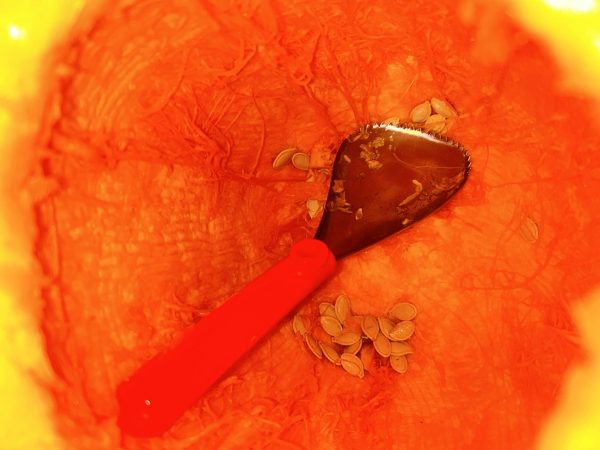
Step 5: Clean out all the seeds. Use your hands or a scoop to scrape out all of the seeds and stringy pumpkin guts. Your pumpkin must be completely clean before you move on.
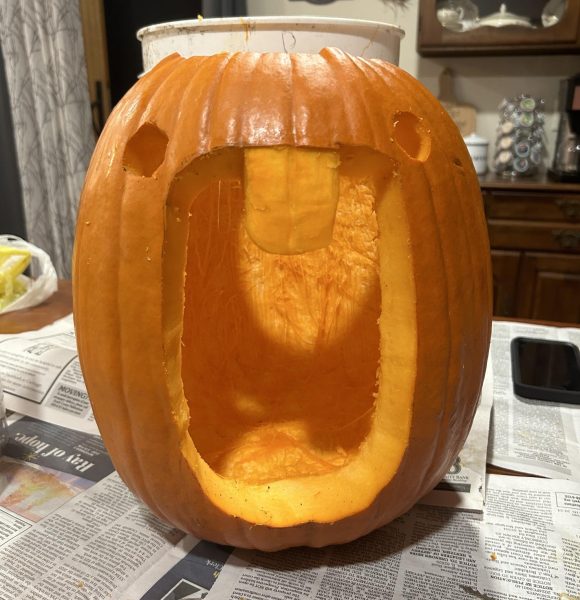
Step 6: Use your small knife or pumpkin carving tools to carve out your outline. Make sure to cut all the way through the pumpkin. Once you cut out a piece, you can poke it out from the inside of your pumpkin.
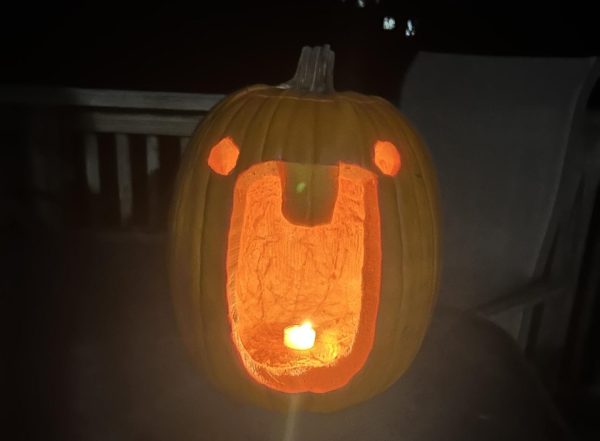
Step 7: Open the top up, put your candle in the pumpkin, light it, and put the top back on. Now you can admire your spooky glowing pumpkin!

